10 Creative Ways to Recycle at Home for a Greener Lifestyle
Living a greener lifestyle feels more urgent than ever, doesn’t it? We’re all looking for simple, impactful ways to reduce our carbon footprint. And while we’ve all heard “reduce, reuse, recycle,” the “recycle” part can often feel limited to just tossing plastics and paper into a blue bin. But what if I told you that recycling can be a gateway to creativity, saving money, and transforming your home? It’s about seeing waste not as an end, but as a beginning.
In my own journey towards sustainability, I’ve discovered that the most rewarding changes happen right within the four walls of my home. It started with a simple question: “What else can I do with this?” This curiosity unlocked a world of possibilities beyond the curbside bin. Today, I’m thrilled to share 10 of my favorite creative recycling methods that I’ve personally tried and loved. These aren’t just eco-friendly tips; they are projects, mindset shifts, and small acts of love for our planet that can make a big difference. Let’s dive in!
Quick Guide to Creative Recycling
This post explores ten innovative ways to recycle common household items, turning potential trash into treasure. We’ll cover everything from upcycling glass jars and old t-shirts to composting food scraps and repurposing furniture, providing practical steps and product recommendations to get you started on a more sustainable path.
1. The “Art Jar” Transformation
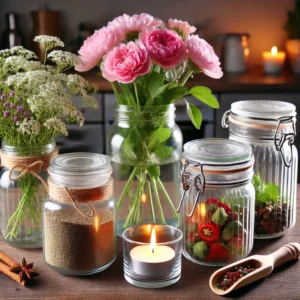
We all have them: a collection of glass jars from pasta sauce, pickles, or jam, clanking around in a cabinet. Before you send them to the recycling center, consider their potential. Glass is an incredible material—durable, non-porous, and endlessly reusable. With a little creativity, these jars can become some of the most beautiful and functional items in your home.
How to Do It:
- Pantry Organization: Clean the jars thoroughly and remove the labels (a soak in hot, soapy water with a bit of vinegar often does the trick). Use them to store bulk items like rice, pasta, beans, or nuts. They look fantastic on an open shelf and keep your food fresh.
- Herb Garden Planters: Drill a few small holes in the bottom for drainage, add some pebbles and soil, and you have the perfect home for kitchen herbs like basil or mint.
- DIY Candle Holders: This is a personal favorite. A simple tea light inside a clean jar creates a rustic, cozy ambiance. For a more permanent solution, you can pour your own candles using soy wax flakes and wicks. This is a great way to use up the last bits of wax from other candles, which perfectly complements creating a relaxing atmosphere with the best calming candles.
- Crafty Centerpieces: Paint the jars, wrap them in twine, or fill them with fairy lights or seasonal items like acorns or seashells. They make stunning, zero-cost decor.
According to the EPA, while over 3 million tons of glass containers were recycled in 2018, another 7.6 million tons were landfilled. Every jar we repurpose makes a dent in that number.

Our Pick: Acrylic Paint Pens for Glass
To really unleash your creativity on glass jars, a good set of paint pens is a game-changer. These allow you to draw intricate designs, label your pantry jars beautifully, or create personalized gifts. Look for a set that’s non-toxic and permanent after baking.
Check Price on Amazon2. Upcycled Textile Treasures
That old t-shirt with a stubborn stain, the jeans that don’t fit anymore, the worn-out towels—don’t let them meet their end in a landfill. Textile waste is a huge problem in the U.S., but our old fabrics are a goldmine of raw materials for new creations. This is a fantastic way to practice mindfulness and create something useful with your hands.
Project Ideas:
- No-Sew T-Shirt Tote Bag: This is the easiest upcycling project ever. Simply cut the sleeves and neckline off a t-shirt, then cut fringes along the bottom and tie them together to create a durable, washable tote bag for groceries or farmers’ market trips.
- DIY Cleaning Rags: Instead of buying disposable wipes, cut old cotton shirts, towels, and bedsheets into squares. They are far more absorbent and can be washed and reused hundreds of time, a key step when you’re learning how to reduce plastic waste at home.
- Denim Coasters or Pot Holders: The seams and pockets from old jeans are incredibly tough. Cut them into squares, layer them for thickness, and sew the edges for rustic, heat-resistant coasters and pot holders.
- Braided Rugs: This is a more ambitious project, but so rewarding. Cut long strips from various fabrics and braid them together, coiling and sewing the braid into a colorful, one-of-a-kind rug.
3. Composting: The Ultimate Food Scrap Hack
Did you know that food scraps and yard waste make up more than 30% of what we throw away? When this organic matter ends up in a landfill, it’s starved of oxygen and releases methane, a potent greenhouse gas. Composting at home is the single most effective way to combat this. It’s like giving back to the earth, turning your kitchen scraps into “black gold” for your garden. And trust me, it’s not as complicated or smelly as you might think.
Getting Started:
- Choose Your Composter: You don’t need a huge backyard. A simple tumbling composter works great for outdoor spaces. For apartments, a compact worm bin (vermicomposting) or an electric kitchen composter can sit right on your counter or balcony.
- Balance Your Greens and Browns: This is the secret to happy compost. “Greens” are nitrogen-rich materials like fruit and veggie scraps, coffee grounds, and grass clippings. “Browns” are carbon-rich materials like dried leaves, cardboard, newspaper, and wood chips. Aim for a ratio of roughly one part green to three parts brown.
- What to Avoid: Keep meat, dairy, oily foods, and pet waste out of your home compost pile, as they can attract pests and create odors.
The end result is a nutrient-rich soil amendment that your plants will adore. It dramatically improves soil structure and water retention, which is a huge advantage if you’re looking to grow your own vegetables at home.
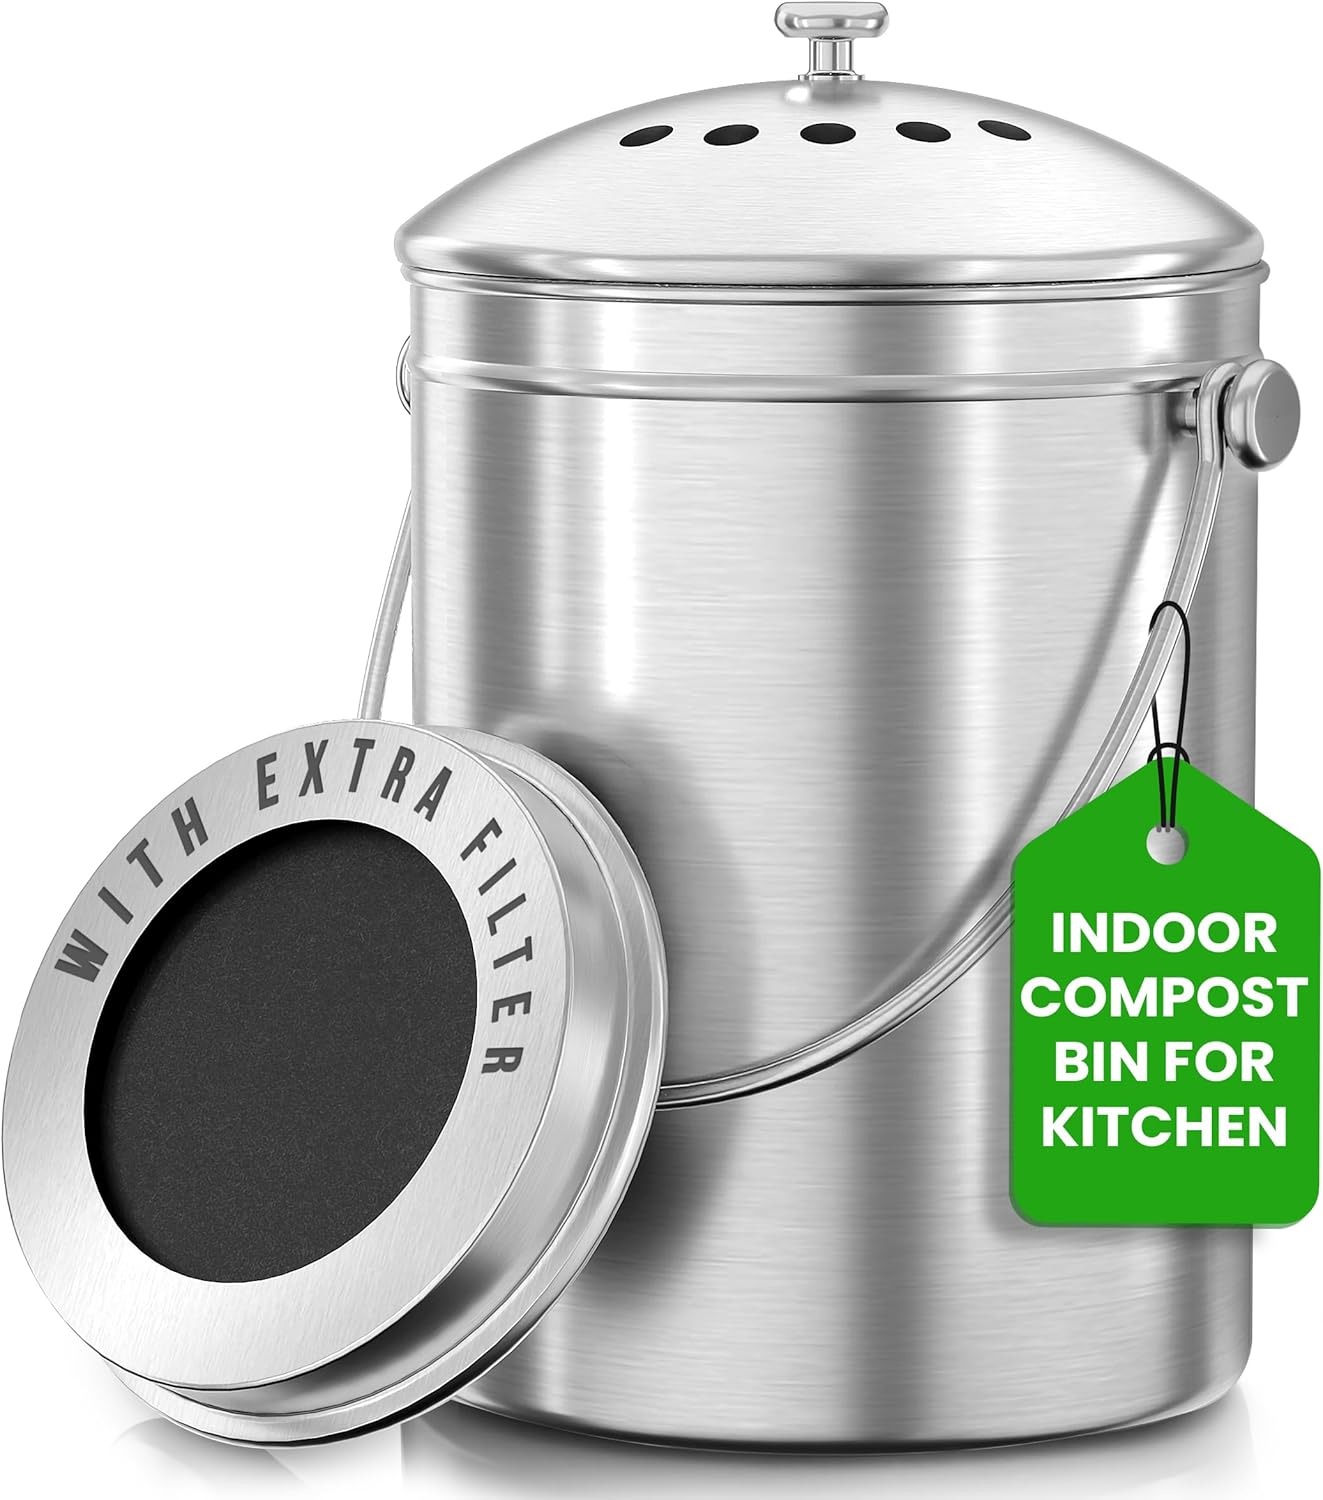
Our Pick: Countertop Compost Bin
The easiest way to start composting is to collect your daily kitchen scraps. A stylish countertop compost bin with a charcoal filter keeps things tidy and odor-free until you’re ready to move them to your main pile or bin. It makes the process convenient and clean.
Check Price on Amazon4. DIY Seed Starters from Paper Rolls
Before you toss those empty toilet paper or paper towel rolls, think about your future garden! These little cardboard tubes are the perfect biodegradable pots for starting seeds indoors. They’re free, reduce plastic waste from nursery pots, and give your seedlings a healthy start.
The Simple Method:
- Cut the rolls into 2-3 inch tall sections.
- Make four cuts into the bottom of each roll, about half an inch deep, and fold the flaps inward to create a base, just like closing a cardboard box.
- Fill the tubes with seed-starting mix, plant your seeds, and water them.
- When the seedlings are ready to move outdoors, you can plant the entire roll directly into the soil. The cardboard will decompose, allowing the roots to grow freely without any transplant shock.
Egg cartons (the cardboard kind) also work wonderfully for this purpose!
5. The Cardboard Castle Construction Zone
The rise of online shopping means many of us have a steady stream of cardboard boxes. While recycling them is good, reusing them first is even better. If you have kids or pets, these boxes are a universe of creative potential.
Unleash Your Imagination:
- For Kids: Build forts, castles, cars, or rocket ships. Provide some markers, paint, and tape, and watch their imaginations run wild for hours. It’s a free, screen-free activity that fosters creativity and engineering skills.
- For Pets: Cats, in particular, love cardboard boxes. You can create a “catio” by taping several boxes together, cutting out holes for them to crawl through. For smaller pets like rabbits or guinea pigs, they make great chew toys and hideouts (just be sure to remove any tape or plastic labels).
- For the Garden: Use flattened cardboard as a natural, chemical-free weed barrier. Lay it down on your garden beds and cover it with mulch or compost. It will suppress weeds while slowly breaking down and enriching the soil. This technique is called sheet mulching.
6. Plastic Bottle Vertical Garden
Plastic bottles are one of our biggest waste challenges. While recycling them is crucial, upcycling them into something functional is a powerful statement. A vertical garden is a brilliant solution for those with limited space, like on a balcony or patio.
How to Build It:
- Collect several 2-liter plastic soda bottles.
- Clean them and remove the labels.
- Lay a bottle on its side and cut out a large rectangular section from the top.
- Punch small holes in the opposite side for drainage.
- You can then string them together vertically using sturdy wire or rope, or affix them to a wall or wooden pallet.
- Fill with soil and plant herbs, lettuces, or trailing flowers. It’s a living wall of green, made from trash!
7. Wine Cork Crafting Corner
Instead of letting wine corks pile up in a junk drawer, collect them for some surprisingly chic and useful craft projects. Natural cork is a fantastic material—it’s lightweight, water-resistant, and has a great texture.
Crafty Cork Ideas:
- DIY Bulletin Board: Glue corks (standing upright or on their sides) into a picture frame to create a stylish, custom-sized bulletin board.
- Coasters and Trivets: Arrange corks in a circle or square and glue them securely to a felt or thin wood backing. They make excellent, absorbent coasters for drinks or trivets for hot pans.
- Plant Markers: Write the names of your herbs or vegetables on a cork with a permanent marker and stick it on a skewer to place in your garden pots.

Tool of the Trade: High-Temp Hot Glue Gun
For many of these upcycling crafts, especially with corks and cardboard, a reliable hot glue gun is your best friend. It provides a strong, quick-setting bond that’s essential for creating durable projects like bulletin boards and coasters.
Check Price on Amazon8. Repurposed Furniture Makeovers
Have a wobbly old chair, a dated dresser, or a scuffed-up side table? Don’t kick it to the curb! “Fast furniture” is a growing environmental issue. Giving an old piece of furniture a second life is one of the most impactful forms of recycling you can do. It saves a bulky item from the landfill, saves you money, and gives you a piece of furniture with character and a story.
Easy Makeover Steps:
- Clean and Prep: Thoroughly clean the piece. If it’s wood, give it a light sanding to remove the old finish and help the new paint adhere.
- A Fresh Coat of Paint: This is the most transformative step. A bold color can turn a boring dresser into a statement piece. Low-VOC chalk paint is a popular choice as it requires minimal prep work.
- Update the Hardware: Swapping out old, dated knobs or pulls for new ones is a simple, inexpensive update that can completely change the look of a piece.
- Get Creative: Add stencils, new fabric to a chair seat, or wallpaper to the inside of drawers for a pop of personality.
9. DIY Wax Melts & Fire Starters
If you’re like me and love a good candle, you’re inevitably left with that last bit of wax at the bottom of the jar that the wick can’t reach. Don’t throw it out! This leftover wax can be easily repurposed.
How to Reuse Leftover Wax:
- New Wax Melts: Carefully melt the remaining wax by placing the candle jar in a pot of simmering water (like a double boiler). Once it’s liquid, pour it into a silicone ice cube tray or candy mold. Let it cool, and you’ll have brand new wax melts for your warmer. You can even combine wax from different scented candles to create a custom fragrance.
- Eco-Friendly Fire Starters: These are perfect for campfires or a backyard fire pit. Fill a cardboard egg carton with flammable “brown” materials from your compost pile, like dryer lint or shredded paper. Pour the melted wax over the top. Once it’s hardened, you can cut the individual egg cups apart. Each one is a potent little fire starter.
10. The “Everything” Drawer for E-Waste
This last one is less of a craft and more of a critical organizational habit. We all have them: dead batteries, old charging cables for phones we no longer own, a cracked tablet, a remote with no matching TV. This is electronic waste, or e-waste, and it’s the fastest-growing waste stream in the world. It’s also full of toxic materials like lead and mercury that should never go into a landfill.
The E-Waste System:
- Designate a Spot: Choose one drawer or box in your home to be the official “E-Waste Collection Point.”
- Collect Everything: Any electronic item that is broken or obsolete goes in here. Batteries, light bulbs (especially CFLs), old phones, cables, chargers, broken headphones, etc.
- Find a Recycler: Once the drawer is full, it’s time for a recycling run. Many communities have specific e-waste recycling days. Additionally, many large electronics retailers in the U.S. (like Best Buy or Staples) have free, in-store recycling programs for these items. A quick online search for “e-waste recycling near me” will give you plenty of options.
Creating this system ensures these hazardous items are disposed of responsibly, preventing pollution and allowing valuable materials to be recovered and reused.
Your Greener Home Starts Today
Embracing a greener lifestyle doesn’t require a complete overhaul overnight. It begins with small, conscious choices. By seeing the hidden potential in everyday “waste,” you not only reduce your environmental impact but also cultivate creativity, save money, and create a home that truly reflects your values. Pick one project from this list that excites you and give it a try this weekend. You’ll be amazed at what you can create!
Frequently Asked Questions (FAQs)
Q1: I’m not very crafty. What’s the easiest project to start with?
The absolute easiest projects are making no-sew t-shirt tote bags and creating your own cleaning rags from old textiles. Both require no special skills other than cutting with scissors and can be done in minutes. They provide immediate, practical value and are a great confidence booster to try more complex projects later.
Q2: I live in a small apartment. Can I still compost?
Yes, absolutely! Apartment composting is very popular. Your best options are a worm composting bin (vermicomposting), which is compact and odor-free, or a Bokashi bin, which uses fermentation to pre-compost scraps. There are also electric kitchen composters that dehydrate and grind food waste into a dry fertilizer in a matter of hours.
Q3: How do I get sticky labels and glue off glass jars?
My go-to method is to soak the jar in hot, soapy water for about 30 minutes. Then, create a paste of baking soda and a cooking oil (like vegetable or coconut oil). Rub this paste onto the sticky residue, let it sit for another 15 minutes, and it should scrub off easily with a sponge or steel wool.