The Stress-Free Guide to Creating a Wedding Seating Chart for 50 Guests
Let’s be honest. Of all the tasks on your wedding checklist, creating the seating chart is probably the one you’re dreading most. It feels like a high-stakes game of human Tetris, filled with delicate family dynamics and social puzzles. But I’m here to let you in on a little secret: for an intimate wedding of 50 guests, the seating chart isn’t a chore. It’s your superpower.
As a wedding planner with over a decade of experience, I’ve seen how a thoughtful seating chart can transform a reception. It’s not about dictating where people sit; it’s about intentionally designing an experience. You have the unique ability to curate tables that will buzz with laughter, spark new friendships, and make every single guest feel welcomed and honored. For a smaller wedding, you’re not just managing a crowd; you’re orchestrating a warm, unforgettable dinner party. This guide will walk you through the entire process, step-by-step, turning what seems like a puzzle into a genuinely enjoyable part of your planning.
Why You Absolutely Need a Seating Chart (Even for 50 Guests)
You might be tempted to let your 50 guests choose their own seats. It seems easier, more casual. In my experience, this is one of the biggest mistakes couples make. A lack of a seating plan, especially at an event as emotionally significant as a wedding, can create immense anxiety for your guests.
- It Eliminates “Last Kid Picked for Dodgeball” Syndrome: No one wants to wander around a room, drink in hand, looking for a spot or worrying about where to sit. Assigned tables provide a clear destination and an immediate sense of belonging.
- It Facilitates Conversation: You know your guests best. You can place people with shared interests, backgrounds, or personalities together, guaranteeing lively conversation instead of awkward silence.
- It Honors Your VIPs: A seating plan ensures your parents, grandparents, and wedding party have prime seats, showing them the respect and honor they deserve.
- It Simplifies Meal Service: Your caterer will thank you. With a seating chart, they can easily identify guests with dietary restrictions or special meal requests, ensuring a smooth and efficient dinner service.
Step 1: The Foundation – Gather Your Tools & Information
Before you place a single name, you need to set up your workspace. A little prep here saves hours of headaches later.
- The Final, Confirmed Guest List: Do not start your seating chart until all your RSVPs are in. Working with a “maybe” list is a recipe for disaster. This is a crucial step in your final planning phase, just as outlined in any good destination wedding planning checklist.
- Your Venue Floor Plan: Ask your venue coordinator for a to-scale floor plan showing your table layout. You need to know the table shapes, sizes, and where they will be in relation to the dance floor, DJ booth, and entrances. The ambiance of your venue plays a huge role here; the layout for a grand hall is very different from one of the unique wedding venues for an intimate celebration, which might have quirky room shapes.
- Choose Your Method:
- Digital Tools: Websites like Zola, The Knot, and WeddingWire offer free digital seating chart tools. You can drag and drop guests’ names onto virtual tables, which makes rearranging easy.
- Old School Sticky Notes: My personal favorite for its tactile nature. Get a large poster board and draw out your table layout. Write each guest’s name on a small sticky note. This makes it easy to visualize and move people around without endless erasing. Color-code the notes for different groups (bride’s family, groom’s family, friends, etc.).
Step 2: Understanding Your Space – Table Types & Layouts for 50 Guests
For 50 guests, you have some great, flexible options. The goal is to create an intimate atmosphere where no one feels miles away from the happy couple.
Common Table Setups:
- Round Tables: The most popular choice. Typically seat 8-10 guests. For 50 guests, you’ll likely have 5-6 round tables. They are fantastic for conversation as everyone can see each other.
- Long Rectangular Tables (King’s or Banquet Tables): These create a dramatic, family-style feel. For 50 guests, you could have two long tables of 25, or one large U-shaped configuration. This setup feels very communal and looks stunning in photos.
The Head Table vs. The Sweetheart Table:
- Head Table: A long table featuring the couple, their wedding party, and sometimes their partners. For a 50-person wedding, this can sometimes feel too formal or take up too much of your guest list at one table.
- Sweetheart Table: A small table just for the two of you. I’m a huge advocate for this at smaller weddings. It gives you a private space to connect and soak in the moment. It also frees up your wedding party to sit with their partners or other friends. Think of it as your first private meal as a married couple, a perfect time for unique romantic date ideas to begin!
Example Layout: 50 Guests with Round Tables
This layout uses a sweetheart table for the couple and five round tables of 10 for the guests. It’s balanced, intimate, and great for conversation.
Step 3: The Grouping Strategy – The Art & Psychology of Seating
This is where your knowledge of your loved ones comes into play. Follow this order to build your chart methodically.
1. Start with Yourselves & Your VIPs
Place yourselves first (at your sweetheart table or head table). Then, seat your parents, grandparents, and siblings at the tables closest to you. This is a non-negotiable sign of respect.
2. Group by Connection
Create natural groups: your aunts, uncles, and cousins at one table; his at another. Group college friends together, work colleagues together. This ensures everyone has a comfortable starting point for conversation.
3. Create “Connector” Tables
Once you have your core groups, look for opportunities to mix. Do you have a table of your college friends and a table of his? If there are a few open seats at each, consider swapping a couple of your most outgoing friends between them. Find a common denominator: do they work in the same industry? Love the same sports team? This is how new friendships are born.
4. The “Singles” Table? Don’t Do It.
Never, ever create a designated “singles” table. It can feel awkward and like you’re trying to play matchmaker. Instead, sprinkle your single friends throughout tables where you know they’ll have good conversation with like-minded people, regardless of their relationship status.
5. The Ultimate Guide to Tricky Situations:
Every family has them. Here’s my expert advice:
- Divorced Parents: The golden rule is to keep them separate and equal. Seat them at different tables, but ensure each table has a place of honor (i.e., equally close to you). If they have new partners, seat them with their respective partners. If the split is acrimonious, give their tables a buffer zone of one or two other tables in between. Communication is key: have a brief, gentle conversation with them beforehand to let them know your seating plan is designed for everyone’s comfort.
- Feuding Family Members: Out of sight, out of mind. Place them on opposite sides of the room. Don’t put them at tables back-to-back. Give them plenty of physical and psychological space so they can relax and enjoy the celebration without feeling on edge.
- Guests Who Don’t Know Anyone: This is a great opportunity. Seat your solo guest with your most warm, welcoming, and talkative friends. Give them a “job”—”Oh, Sarah, you have to talk to my friend John, he also just got back from a trip to Japan!” This gives them an instant icebreaker.
Putting It All Together: A Sample Seating Chart for 50 Guests
Let’s walk through a realistic scenario to see these principles in action.
The Couple: Alex & Ben
Vibe: Relaxed, fun, with a focus on blending two distinct friend groups and families.Layout: Sweetheart Table + 5 Round Tables of 10.
- Sweetheart Table: Alex & Ben.
- Table 1 (Place of Honor): Alex’s parents, Alex’s grandparents, Alex’s brother and his wife, Alex’s two closest aunts. (A warm, happy family table).
- Table 2 (Place of Honor): Ben’s divorced parents, each with their new partner. The rest of the table is filled with Ben’s siblings and their partners. (This keeps the parents at honored tables but separate. Ben has spoken to them, and they are happy to celebrate him).
- Table 3 (The College Crew): Five of Alex’s college friends and three of Ben’s college friends, plus Ben’s cousin and his wife who are the same age and very outgoing. (A high-energy “party” table).
- Table 4 (The Work & Hometown Table): Four of Alex’s work colleagues and four of Ben’s hometown friends. We’ve seated them together because both groups are in their 30s, many have young kids, and they can bond over shared life stages.
- Table 5 (The Connector Table): Alex’s fun aunt and uncle, Ben’s godparents, two single friends from different groups who are both avid hikers, and a married couple who are friends of the family. (This is the “secret sauce” table, designed to spark new connections).
The Logic: This plan honors family, keeps potentially awkward dynamics comfortable, empowers existing friend groups to have fun, and strategically creates a new “mixed” group that is likely to get along well.
Step 5: Displaying Your Masterpiece – Seating Charts & Place Cards
Now that the hard work is done, it’s time for the fun part: showing your guests where to go! Here are some beautiful and practical ideas you can find on Amazon.
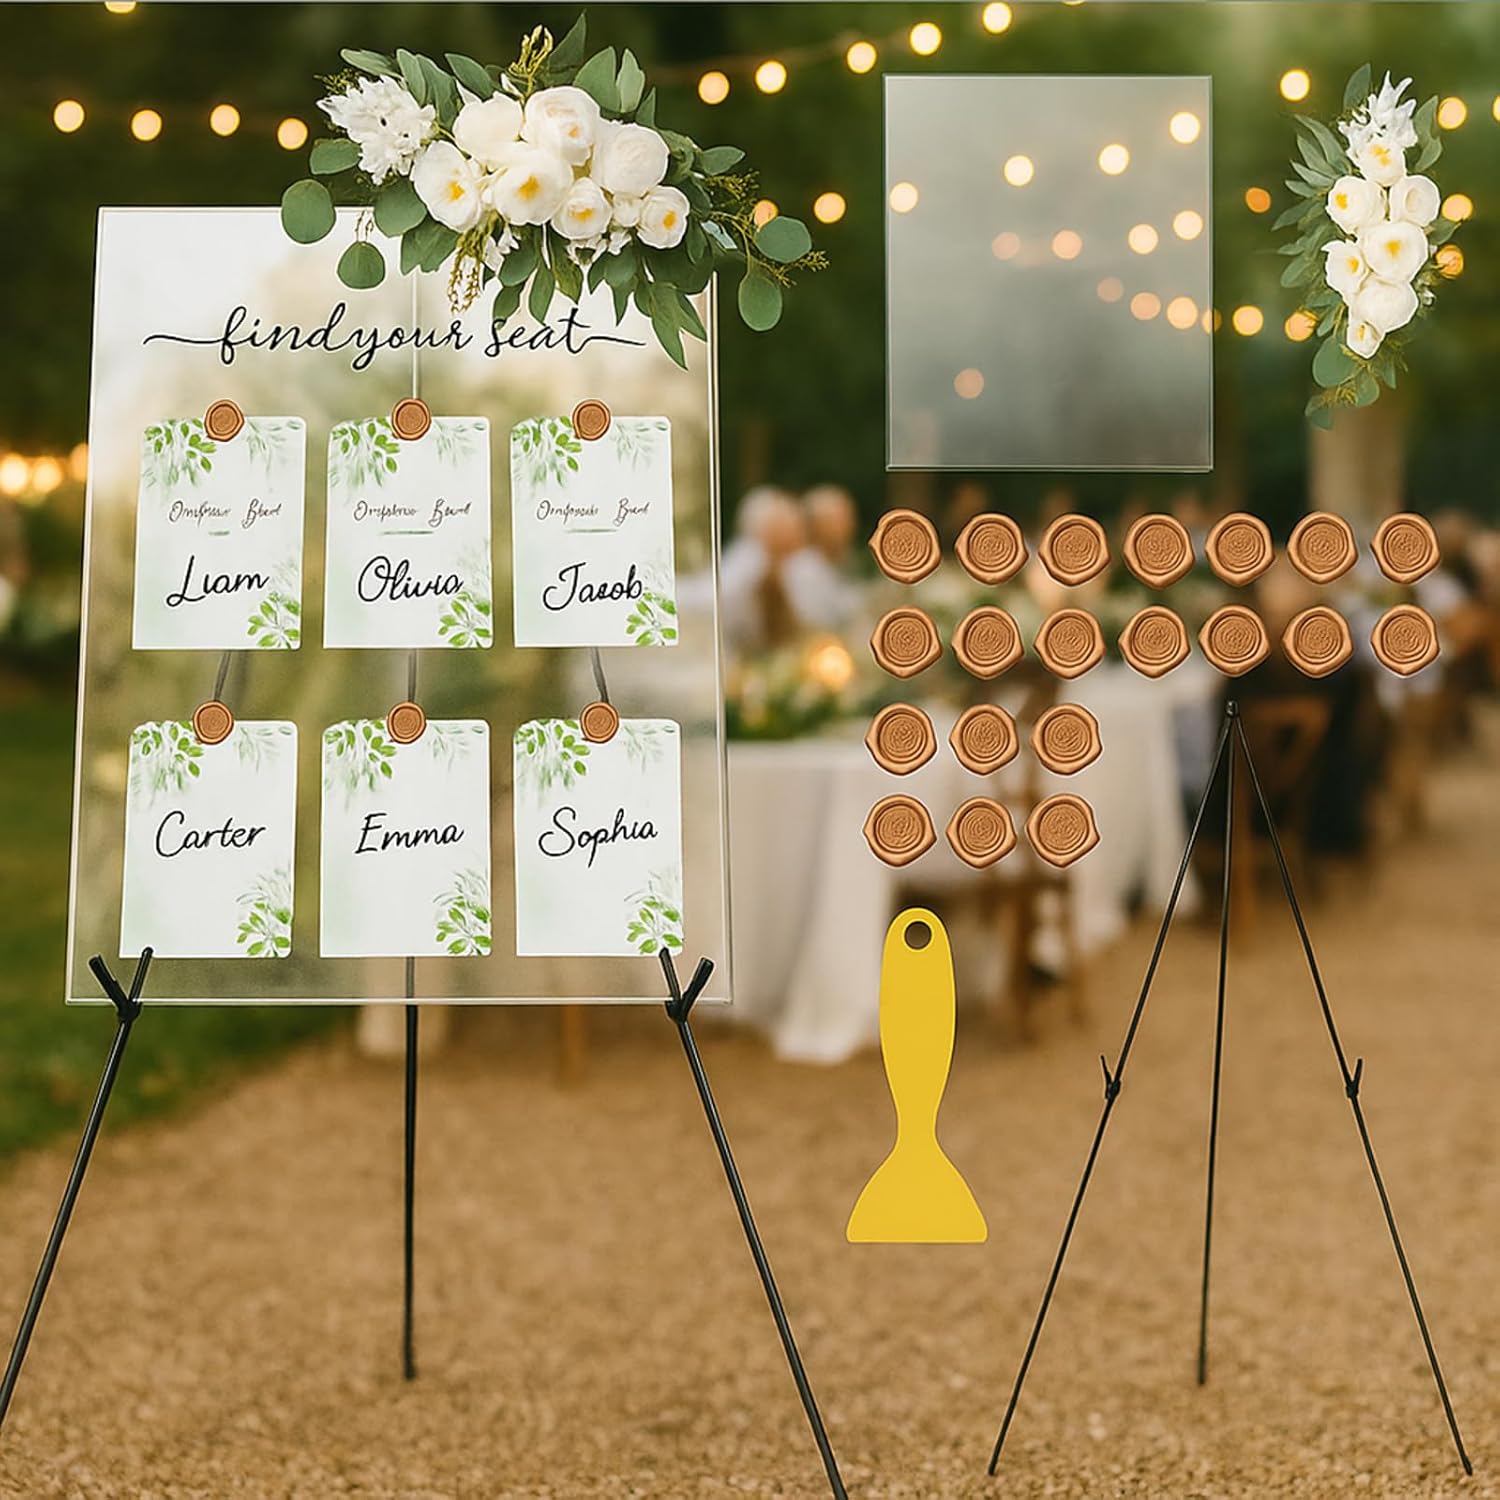
Acrylic Seating Chart Sign & Easel
Elegant and modern. A large, beautifully printed acrylic sign displayed on a simple wooden or metal easel makes a stunning entrance piece for your reception.
View on Amazon
Escort Cards & Display Table
Instead of one large chart, have individual cards for each guest with their name and table number. Display them alphabetically on a beautifully decorated table.
View on Amazon
Elegant Table Number Holders
Once guests find their table number, they need to find the table! These stylish holders add a touch of sophistication to your centerpieces and are easy to spot.
View on AmazonCreating your seating chart is a true act of love for your guests. Once it’s done, you can relax and look forward to the celebration. And after the big day, as you build your life together, you’ll find new ways to show that love, perhaps by finding the perfect wedding anniversary quotes for your husband to mark each year you share.
Frequently Asked Questions
Do I need place cards at each seat if I have a seating chart?
For a wedding of 50, it’s a very nice touch. While an escort card or main chart gets them to the right table (assigned table), a place card tells them which specific seat is theirs (assigned seat). This eliminates any final moment of hesitation and allows you to be even more strategic (e.g., seating a shy person next to an outgoing one).
When should I create my seating chart?
Wait until you have all your RSVPs back, which is typically 2-4 weeks before the wedding. Create it, then give the final version to your stationer (if you’re having it professionally printed) or your venue/caterer about one week before the wedding day.
What if a guest cancels at the last minute?
Don’t panic! It’s much easier to remove one person than to add one. Simply take their name off the chart. If their absence creates a very empty-looking spot, you can subtly shift one or two people from a nearby table if your chart is digital. If it’s already printed, don’t worry about it. A single empty chair is perfectly fine.
Should the bride’s family and groom’s family be seated together?
This is a great goal! The wedding is about joining two families. While you might keep immediate family at their own distinct tables, try to create mixed tables for extended family like aunts, uncles, and cousins. Your “Connector Table” is a perfect place to start this blending process.