The Ultimate Guide to Using a Fountain Pen
Welcome to the timeless art of writing. In a world of fleeting digital messages, the simple act of putting a fountain pen to paper is a uniquely satisfying experience. It connects you to your thoughts in a more deliberate way. But getting started can feel intimidating. From my first inky-fingered attempt years ago to today, I’ve learned that mastering the fountain pen isn’t about perfection; it’s about understanding the instrument. This guide is everything I wish I knew when I started, designed to answer every question you might have.
How Does a Fountain Pen Work? The Magic Explained
Before you can use a fountain pen, it helps to understand the elegant physics behind it. A fountain pen isn’t just a fancy shell; it’s a carefully balanced system designed for a controlled flow of ink. Think of it as a precision tool that channels ink from a reservoir, down to the tip, and onto the paper through a perfect marriage of gravity and capillary action.
There are three core components:
- The Reservoir: This is where the ink is stored. It can be a disposable cartridge, a refillable converter, or the body of the pen itself (in a piston or vacuum filler).
- The Feed: This is the unsung hero. It’s a black or clear component with tiny channels and fins that sits just behind the nib. Its job is to draw ink from the reservoir and regulate its flow, ensuring a consistent, reliable line without blobbing or drying out. It also allows air to flow back into the reservoir to replace the ink, preventing a vacuum.
- The Nib: This is the metal tip of the pen that touches the paper. It has a tiny slit down the middle that guides the ink via capillary action from the feed to the very tip, which is usually made of a hard-wearing material like iridium. The shape and size of this tip determine the width of your line (e.g., Extra Fine, Fine, Medium, Broad).
How to Hold a Fountain Pen: The Gentle Art of the Grip
If you’re used to ballpoint pens, you’ve likely developed a habit of pressing down hard. With a fountain pen, this is the first habit to unlearn. The pen should be a natural extension of your hand, not a tool you have to force.
The Tripod Grip and the 45-Degree Angle
- Find the Tripod Grip: Let the pen rest naturally in the space between your thumb and index finger. Your thumb and index finger should gently hold the grip section, while the pen barrel rests on the knuckle of your middle finger. Don’t clutch it; a light, relaxed grip is key.
- Aim for a 45-Degree Angle: The ideal angle between the pen and the paper is typically between 40 and 55 degrees. This allows the ink to flow smoothly from the nib. Holding it too vertically can cause a scratchy feeling, while holding it too low can stop the ink flow.
- Let the Pen Do the Work: You do not need to apply pressure. I repeat: zero pressure. The weight of the pen itself is enough to maintain contact with the paper. Your job is simply to guide the nib across the page. This is why writing with a fountain pen is far less fatiguing over long sessions.
How to Fill a Fountain Pen: Cartridge vs. Converter
Getting ink into your pen is the first practical step. Most modern pens use one of two systems: disposable cartridges or refillable converters. Both are simple once you’ve done it a couple of times.
Method 1: Using an Ink Cartridge (The Easy Start)
Cartridges are small, pre-filled plastic tubes of ink. They are incredibly convenient and perfect for beginners or for use on the go.
- Unscrew the Pen: Unscrew the barrel of the pen from the grip section to reveal the back of the feed.
- Insert the Cartridge: Most cartridges have a small ball or seal on one end. Simply push this end firmly into the pen’s section. You should feel a small click or pop as the pen pierces the seal.
- Reassemble and Wait: Screw the barrel back on. It may take a minute or two for the ink to travel down the feed to the nib. You can gently flick the pen (nib pointing down) or simply wait for gravity to do its job.
Method 2: Using a Converter and Bottled Ink (The Enthusiast’s Choice)
A converter is a small, refillable reservoir that plugs in just like a cartridge but has a mechanism (usually a piston) to draw ink from a bottle. This opens up a universe of ink colors and is more economical and environmentally friendly in the long run.
- Attach the Converter: If a cartridge is in the pen, remove it. Push the converter into the section, just like you would a cartridge.
- Submerge the Nib: Open your bottle of ink and fully submerge the entire metal nib into the ink.
- Draw the Ink: Twist the knob on the converter’s piston mechanism counter-clockwise to expel any air. Then, slowly twist it clockwise to draw ink up into the converter. I like to repeat this process two or three times to ensure a full fill.
- Clean and Reassemble: Remove the nib from the ink bottle and use a paper towel or soft cloth to wipe any excess ink from the nib and section. Screw the barrel back on, and you’re ready to write.

Great Beginner Pen
A reliable starter pen like the Pilot Metropolitan or Lamy Safari comes with both a cartridge and a converter, allowing you to try both methods. They are durable, write smoothly, and offer an incredible value.
Find Starter Pens on Amazon
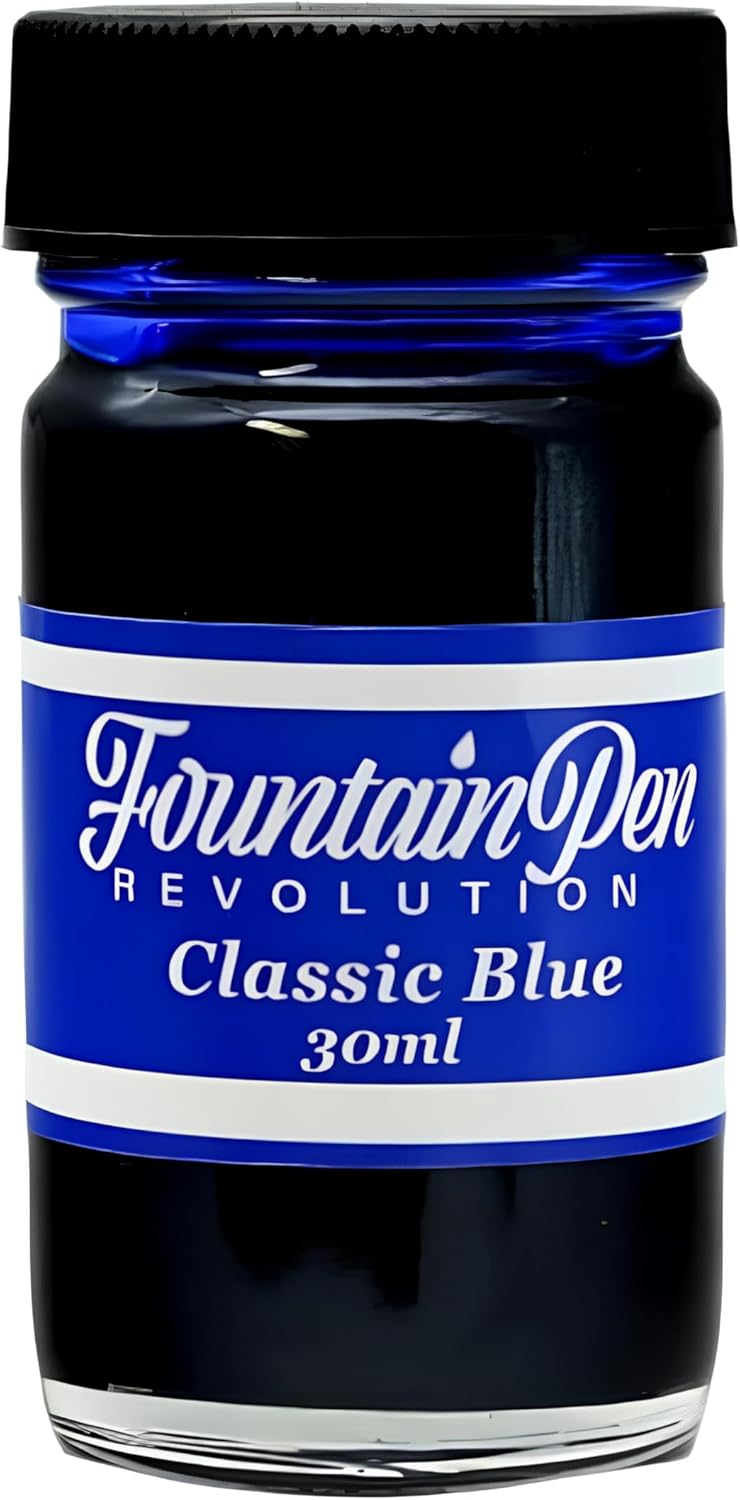
Quality Bottled Ink
Using a good quality ink is essential for a smooth writing experience. Brands like Waterman, Pilot Iroshizuku, or Diamine offer a vast array of beautiful, well-behaved colors that are safe for all fountain pens.
Shop for Ink on AmazonHow to Write with a Fountain Pen: Finding Your Flow
Now that your pen is held correctly and filled with ink, it’s time to write. The key is to find the “sweet spot” on the nib—the ideal point of contact where the ink flows most smoothly. Rotate the pen slightly in your grip until you feel the least resistance or scratchiness. The paper you use also makes a huge difference. Cheap, absorbent paper can cause “feathering,” where the ink spreads out. Look for fountain pen-friendly paper like that from Rhodia, Clairefontaine, or Tomoe River for the best experience.
How to Clean a Fountain Pen: The Essential Maintenance
A clean pen is a happy pen. Regular cleaning prevents clogs and ensures a consistent ink flow. I recommend cleaning your pen every time you change ink colors, or every 4-6 weeks if you’re using the same ink.
The Basic Flush
- Disassemble: Unscrew the barrel and remove the cartridge or converter.
- Rinse the Section: Hold the grip section (with the nib attached) under cool, running water. Let the water run through it until it runs clear. You’ll see the old ink washing away.
- Use the Converter to Flush: For a more thorough clean, attach the empty converter, submerge the nib in a cup of clean water, and use the piston to draw water in and expel it out. Repeat until the water is clear.
- Dry Thoroughly: This is a crucial step. Gently blot the nib and feed with a paper towel. To get the rest of the water out, stand the section nib-down in a cup on top of a wadded paper towel overnight. This will wick out any remaining moisture.
How to Store a Fountain Pen: Best Practices
Proper storage protects your pen and keeps it ready to write. For short-term storage (a few days), you can store it horizontally. For longer-term storage (a week or more), it’s best to store your pen vertically with the nib pointing up. This allows the ink to settle back into the reservoir, preventing it from drying out in the delicate feed and causing a hard start the next time you use it. If you plan to store a pen for several months, it’s best to clean it out completely first.
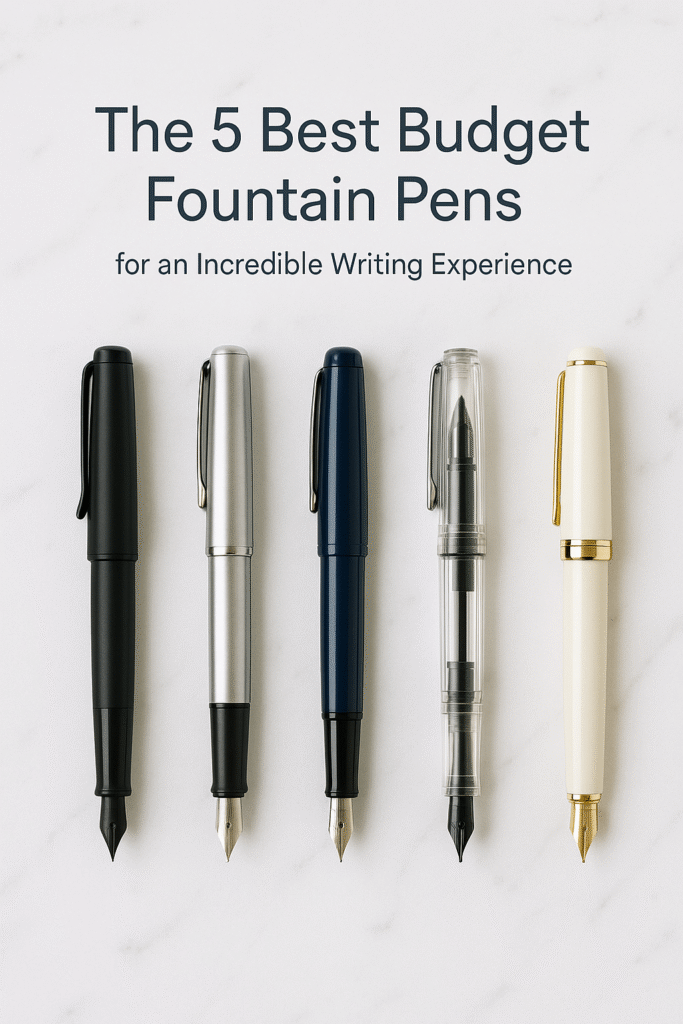
Expert Tip: Many people ask, “How much is a fountain pen?” The answer is that you don’t need to spend a fortune to get a fantastic writing experience. In fact, some of the most beloved pens are incredibly affordable. For a detailed look at great options that won’t break the bank, check out our guide to the best budget fountain pens.
Frequently Asked Questions About Fountain Pens
How do I refill a Parker fountain pen?
Parker pens follow the same principles. They use proprietary Parker-style cartridges or converters. The process is identical to the steps outlined above: unscrew the barrel, pull out the old cartridge/converter, and push in the new one. Parker converters are typically piston-style, so you would fill them from a bottle just as described.
How much ink is in a fountain pen cartridge?
It varies slightly by brand, but a standard international short cartridge holds approximately 0.75 ml of ink. A larger, long international cartridge or a proprietary cartridge (like those from Parker or Lamy) can hold between 1.1 ml and 1.45 ml of ink. For comparison, most converters hold between 0.5 ml and 1.2 ml.
Why is my fountain pen skipping or not writing?
This is almost always due to one of three things: 1) The pen is clogged with dried ink and needs a good cleaning. 2) You’re holding the pen at the wrong angle or rotating it off the “sweet spot.” 3) You’re writing on oily paper (from hand lotions, for example) which repels the water-based ink. The first step is always to flush the pen thoroughly with water.
Can I take a fountain pen on an airplane?
Yes, but with a precaution. Changes in cabin pressure can cause ink to expand and leak. To prevent this, travel with your pen either completely full or completely empty. A full reservoir has no air to expand, and an empty one has no ink to leak. Store it nib-up during takeoff and landing.
Embrace the Journey
Learning to use a fountain pen is a rewarding process. There will be inky fingers. There will be moments of frustration. But there will also be the unmatched joy of watching a beautiful line of ink flow from your hand onto the page. Be patient, be curious, and enjoy the journey. You’re not just learning to use a new tool; you’re adopting a practice that encourages thoughtfulness, intention, and a connection to the written word.
Happy writing!


